I've been working on a new material and its time to share, using wood veneer as a decorative wrap base layer. Most of you guys who have seen Kevin Knox's work with Abalone Veneer. Anyway, a carpenter friend of mine has been building benches and tools for my shop and wanted to trade part on a rod. He wanted a rod that said WOOOOOD!
The specifics a Seeker CJBF65H, slick butt rear grip, brown Hypalon front grip to match the wood, every guide underwrapped with a tiger wrap in medium brown and Chestnut, trimmed in black and gold metallic, guides - Fuji Gunsmoke SIC Turbo Boat guide, spiral wrapped.
Here is how the process works
On Don's rod I wanted to cover about 6" of the butt section for the butt wrap. We talked about doing veneer for the underwraps, but being a new unknown material in rod building I wasn't sure I wanted to subject that much of the rod to potential problems. So for the guide underwraps I decided to use Tiger wraps to simulate a wood grain pattern. I thought about using a Clemens wrap, but having just done one of those it was time for something new.
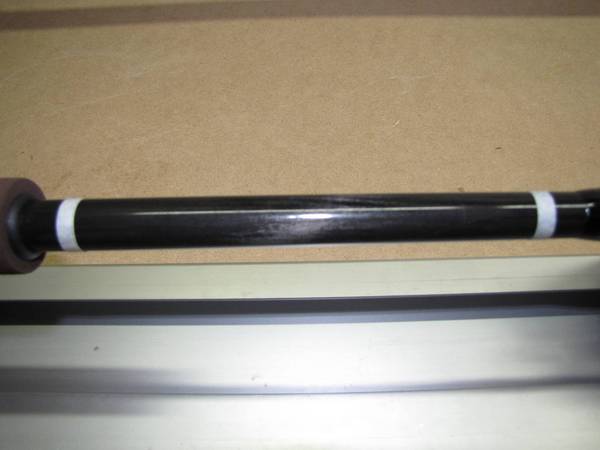
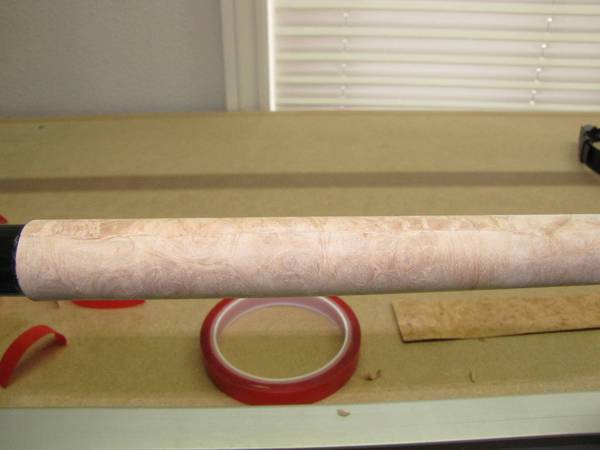
The white masking tape was used to layout the area where the veneer would be applied.
[
www.rodbuilding.org]
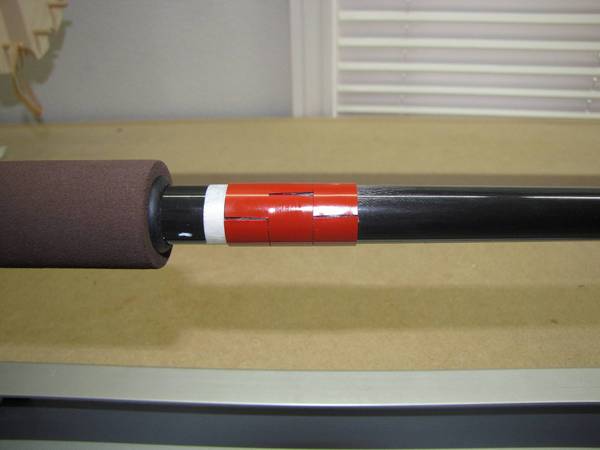
The next issue to over come was applying the material to the blank. I settled on using a double stick vinyl tape from Tap Plastic. Look under the Repair Products section of their web site for adhesive tapes. The stuff is sticky enough to stick to UHMW, yet still flexible. I wanted to use the adhesive that Aqua Blue uses for the abalone, but it wasn't available separatly.
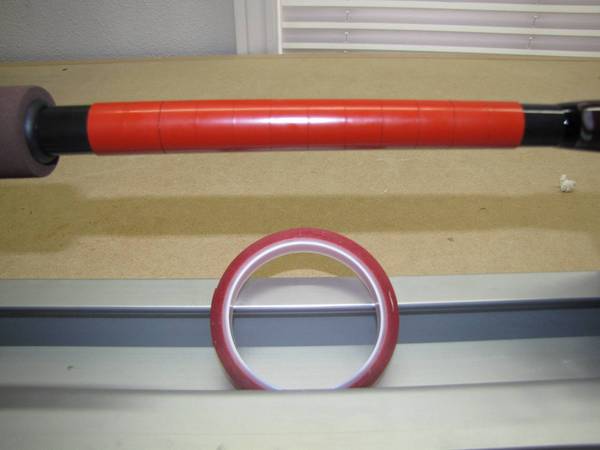
The tape is 1/2 wide and has a red protective film. Since I'm cutting strips I felt it important to stagger the joints in the tape so they all do not line up.
[
www.rodbuilding.org]
Here is the tape applied to whole area where the decoration will be located.
[
www.rodbuilding.org]
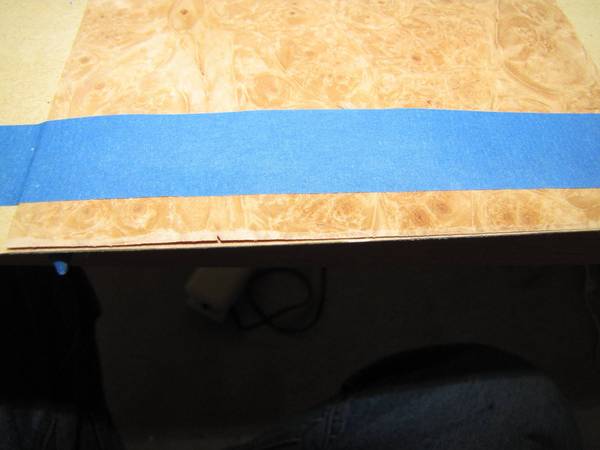
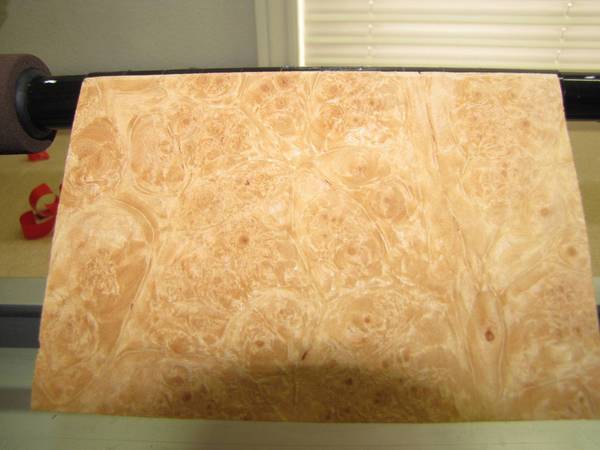
Next I cut a sheet of veneer that was oversized. 6" x 4" and taped it down to a scrap piece of wood.
[
www.rodbuilding.org]
The reason for this is I'm about to sand a bevel on one edge. I found out later that this is called scarfing. When starting to work with this material if the edge wasn't beveled the veneer would crack - assuming that you were overlaying the edge. I spent some time at this point trying different methods of dealing with the edge, cutting exact, overlap, cutting oversize and shrinking with water, sanding to fit. Overlap resulted in the best edge.
The bevel is about 1/16"
Next step getting the veneer lined up. First remove the protective red film exposing the adhesive. I previously marked the 180 degree point on the blank and using the glare line from over head lighting I lined it up and stuck down the beveled edge, bevel up.
An important note at this point, it depends on the direction you will wind thread on the veneer as to the direction you wrap the veneer. If you wrap thread over the top with the carriage between you and the blank, you want to wrap the veneer in a clockwise direction so the trailing edge is pulled by the thread into the blank.
[
www.rodbuilding.org]
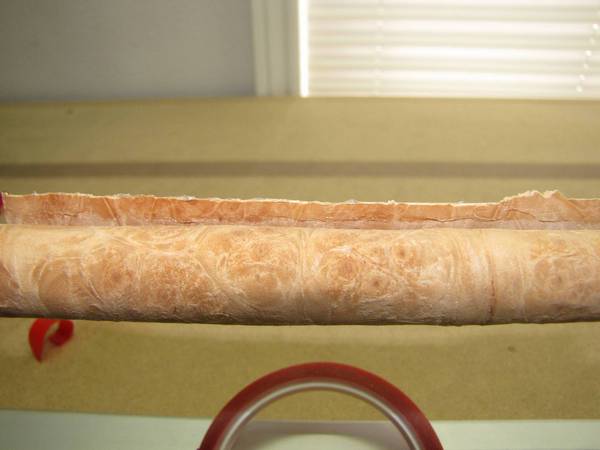
Once you get it wrapped all the way around, trim the excess by scoring the veneer and snapping off the excess. It really isn't important to get this straight as the imperfection of the line will help hide its existence. Our eyes pick up horizontal lines very easily.
[
www.rodbuilding.org]
If you look close at the trailing edge you will see that I have coated it with a thin layer of U40 Quick Bond. I chose quick bond because I know the material is friendly to other rod building finishes and will not cause me grief later.
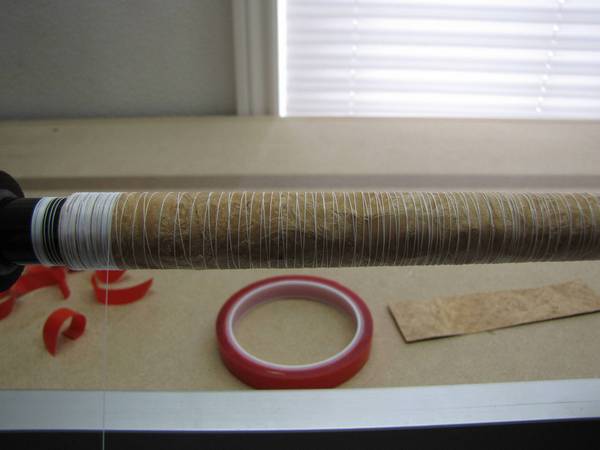
Clamping the veneer down. Using some thread (I always have lots of White NCP on hand) start wrapping thread before the veneer to get it started and begin wrapping the veneer down. In this picture I'm just getting started and didn't want to split the material so used some wide spacing at first, then coming back to completely cover the veneer.
[
www.rodbuilding.org]
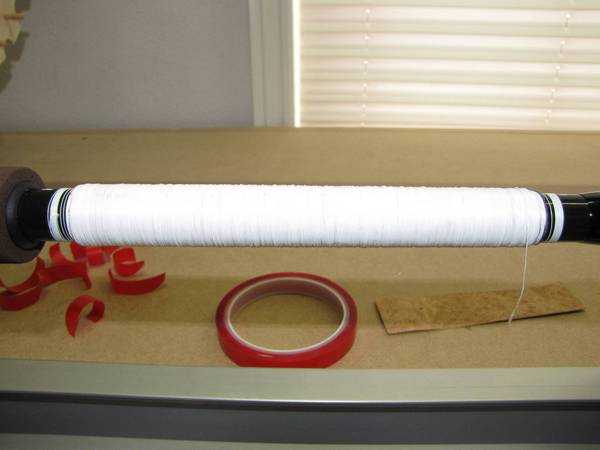
Here is the veneer completely covered in thread and tied off
[
www.rodbuilding.org]
Now the waiting begins. I let this set for two hours basically enough time for the quick bond to set up but not completely harden.
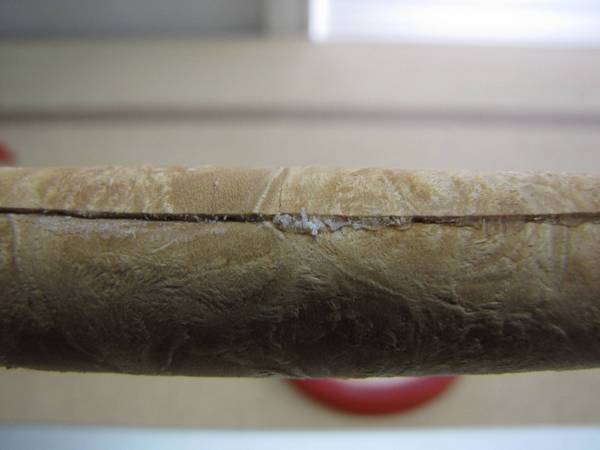
This next picture shows the thread removed and the extra quick bond that needs to be removed. Since it has not fully hardened yet it is sort of like stiff rubber cement. Using a pick I removed the excess glue.
[
www.rodbuilding.org]
Once all the glue is removed, sand the edge with course sand paper. I started with 120 grit. In this picture you can see the material being removed on the left and the untouched joint on the right. You need to get it as close as possible with the course sand paper. I didn't turn the blank at this point.
[
www.rodbuilding.org]
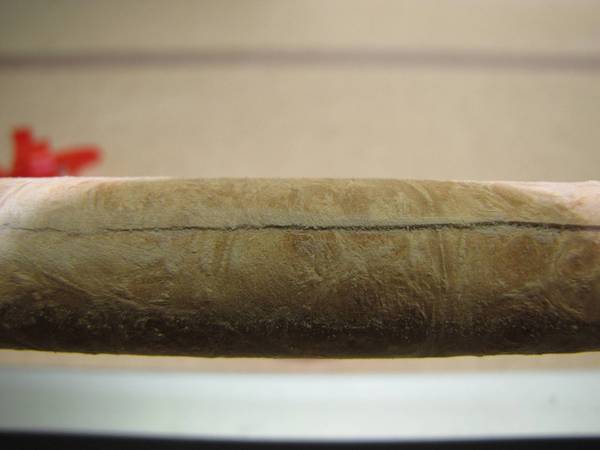
Once the course work is done, I start spinning the blank on the lathe and moved up in grit to 220 and eventually 400. This next picture shows the sanded veneer ready for finish. You will never get rid of the edge completely because the wood will fracture when it is very thin
[
www.rodbuilding.org]
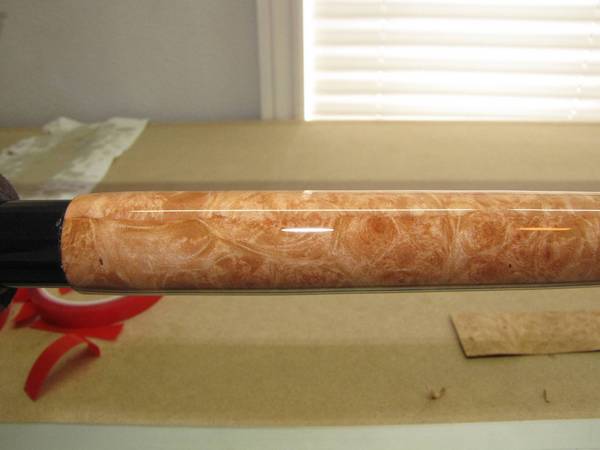
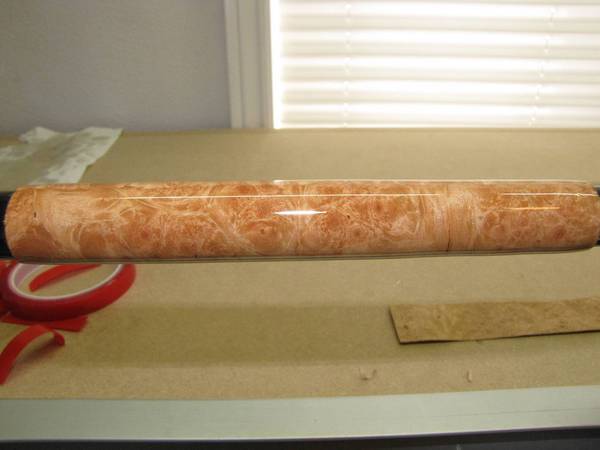
The next step is to apply a thin coat of lite build thread finish. This step had some work behind it to. First attempt I tried using high build and the veneer would off gas air as the finish soaked in leaving behind craters from bubbles popping and not popping. I did try using color preserver and that might be something to keep in mind if you are using a dark veneer because the finish does darken the wood. Anyhow, baby sitting the finish with a bubble buster and lite build (better bubble releasing properties) turned out to be the best method for this light colored material.
This pic shows what the joint looks like, its just under the glare line
[
www.rodbuilding.org]
Here is the whole piece of wood
[
www.rodbuilding.org]
Thank you whoever you are
WWW.WeSeekHerRods.com


