


Tip Top Support - cl
Equipment and Tools
by Stan Gregory

Work Area
Equipment and Tools
by Scott Hovanec

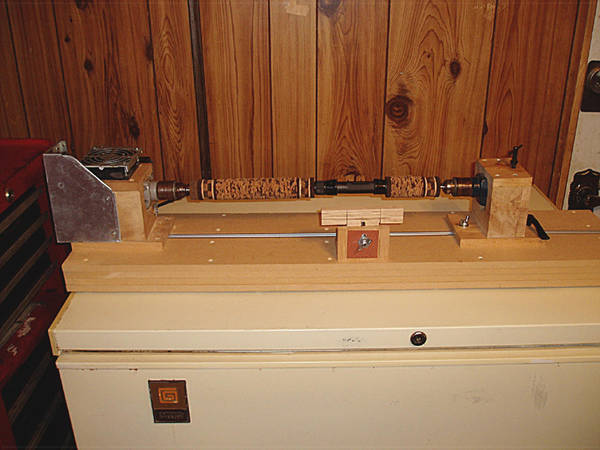
Homemade Cork Lathe-
Equipment and Tools
by Chad Barlongo
|
||||||
| Please register before attempting to upload photos. You must use your
actual first and last name and a valid email address when you register.
Internet handles and nicknames are not allowed. You will receive an
email account verification shortly after you register. Please follow
the enclosed instructions in order to activate your rodbuilding.org
photo account.
Please limit your photo uploads to those directly associated with custom rod building. Occasional photos of fish caught on your custom rods are acceptable, however, and should be placed in the "miscellaneous" category. | ||||||
|


 |
|
 |


